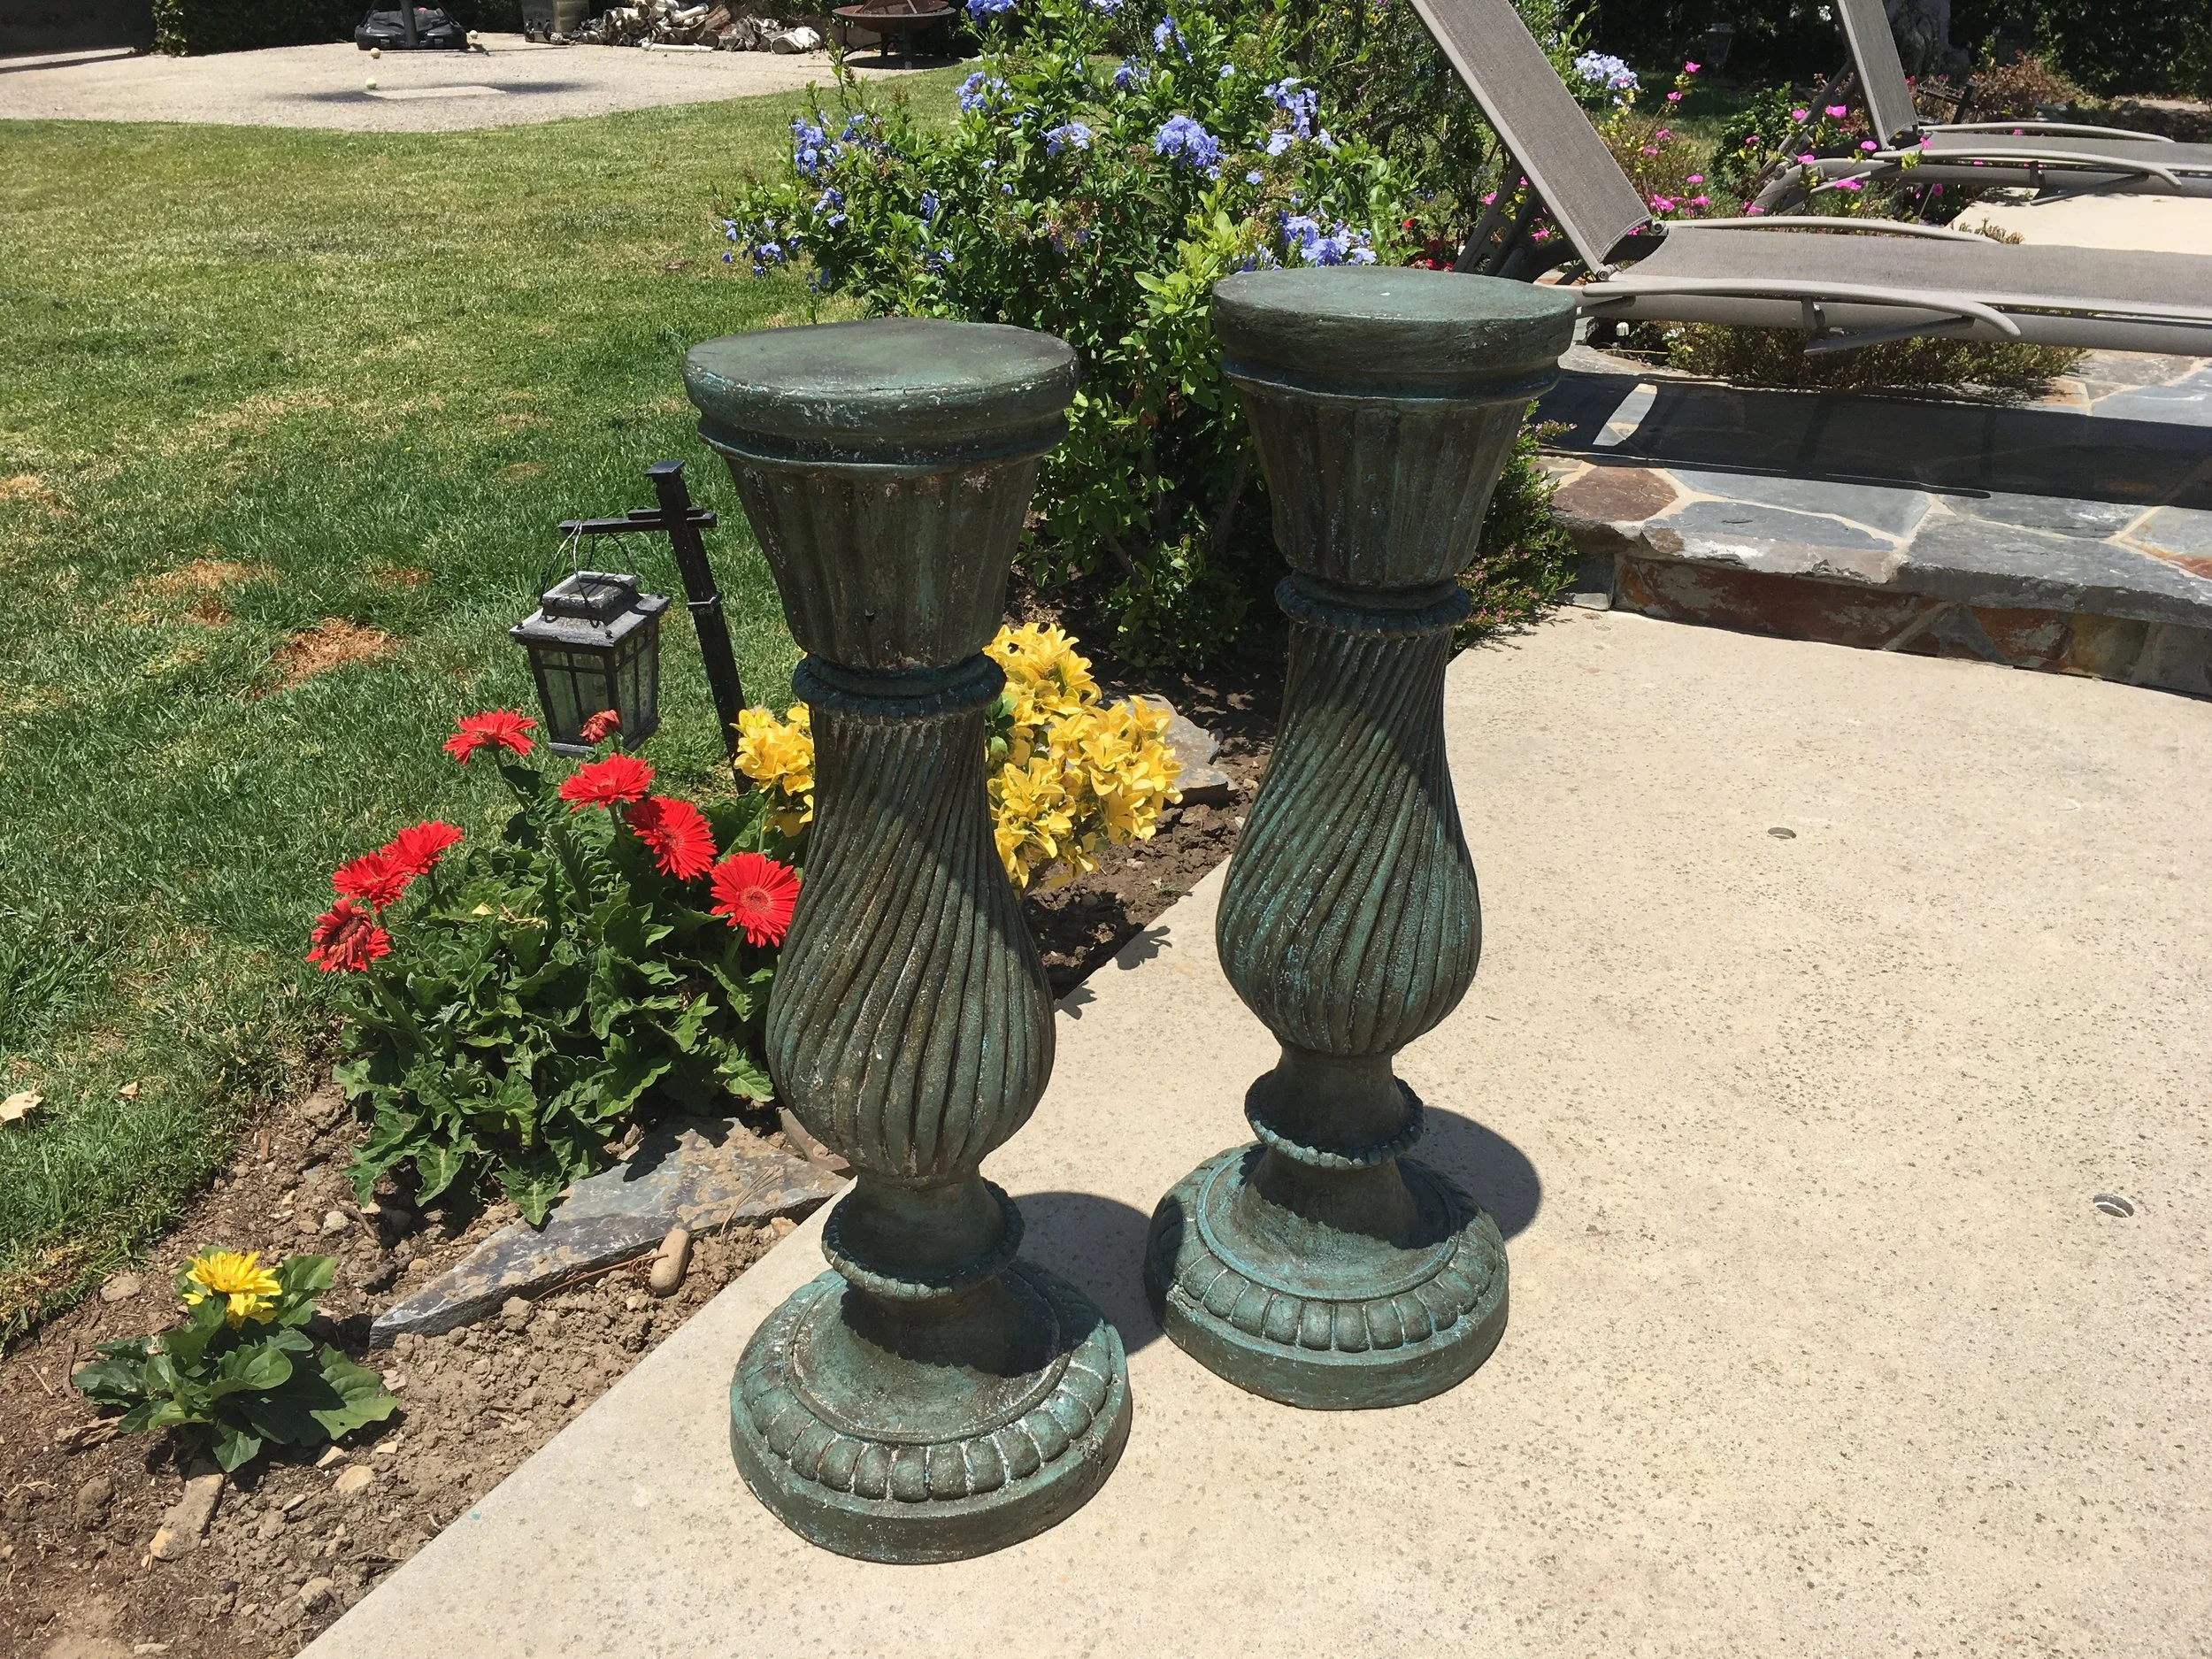
These pedestals have been sitting in my backyard for almost 4 years. Being used as drink holders, I just got tired of looking at them. I decided they needed a facelift.
What I Started With...
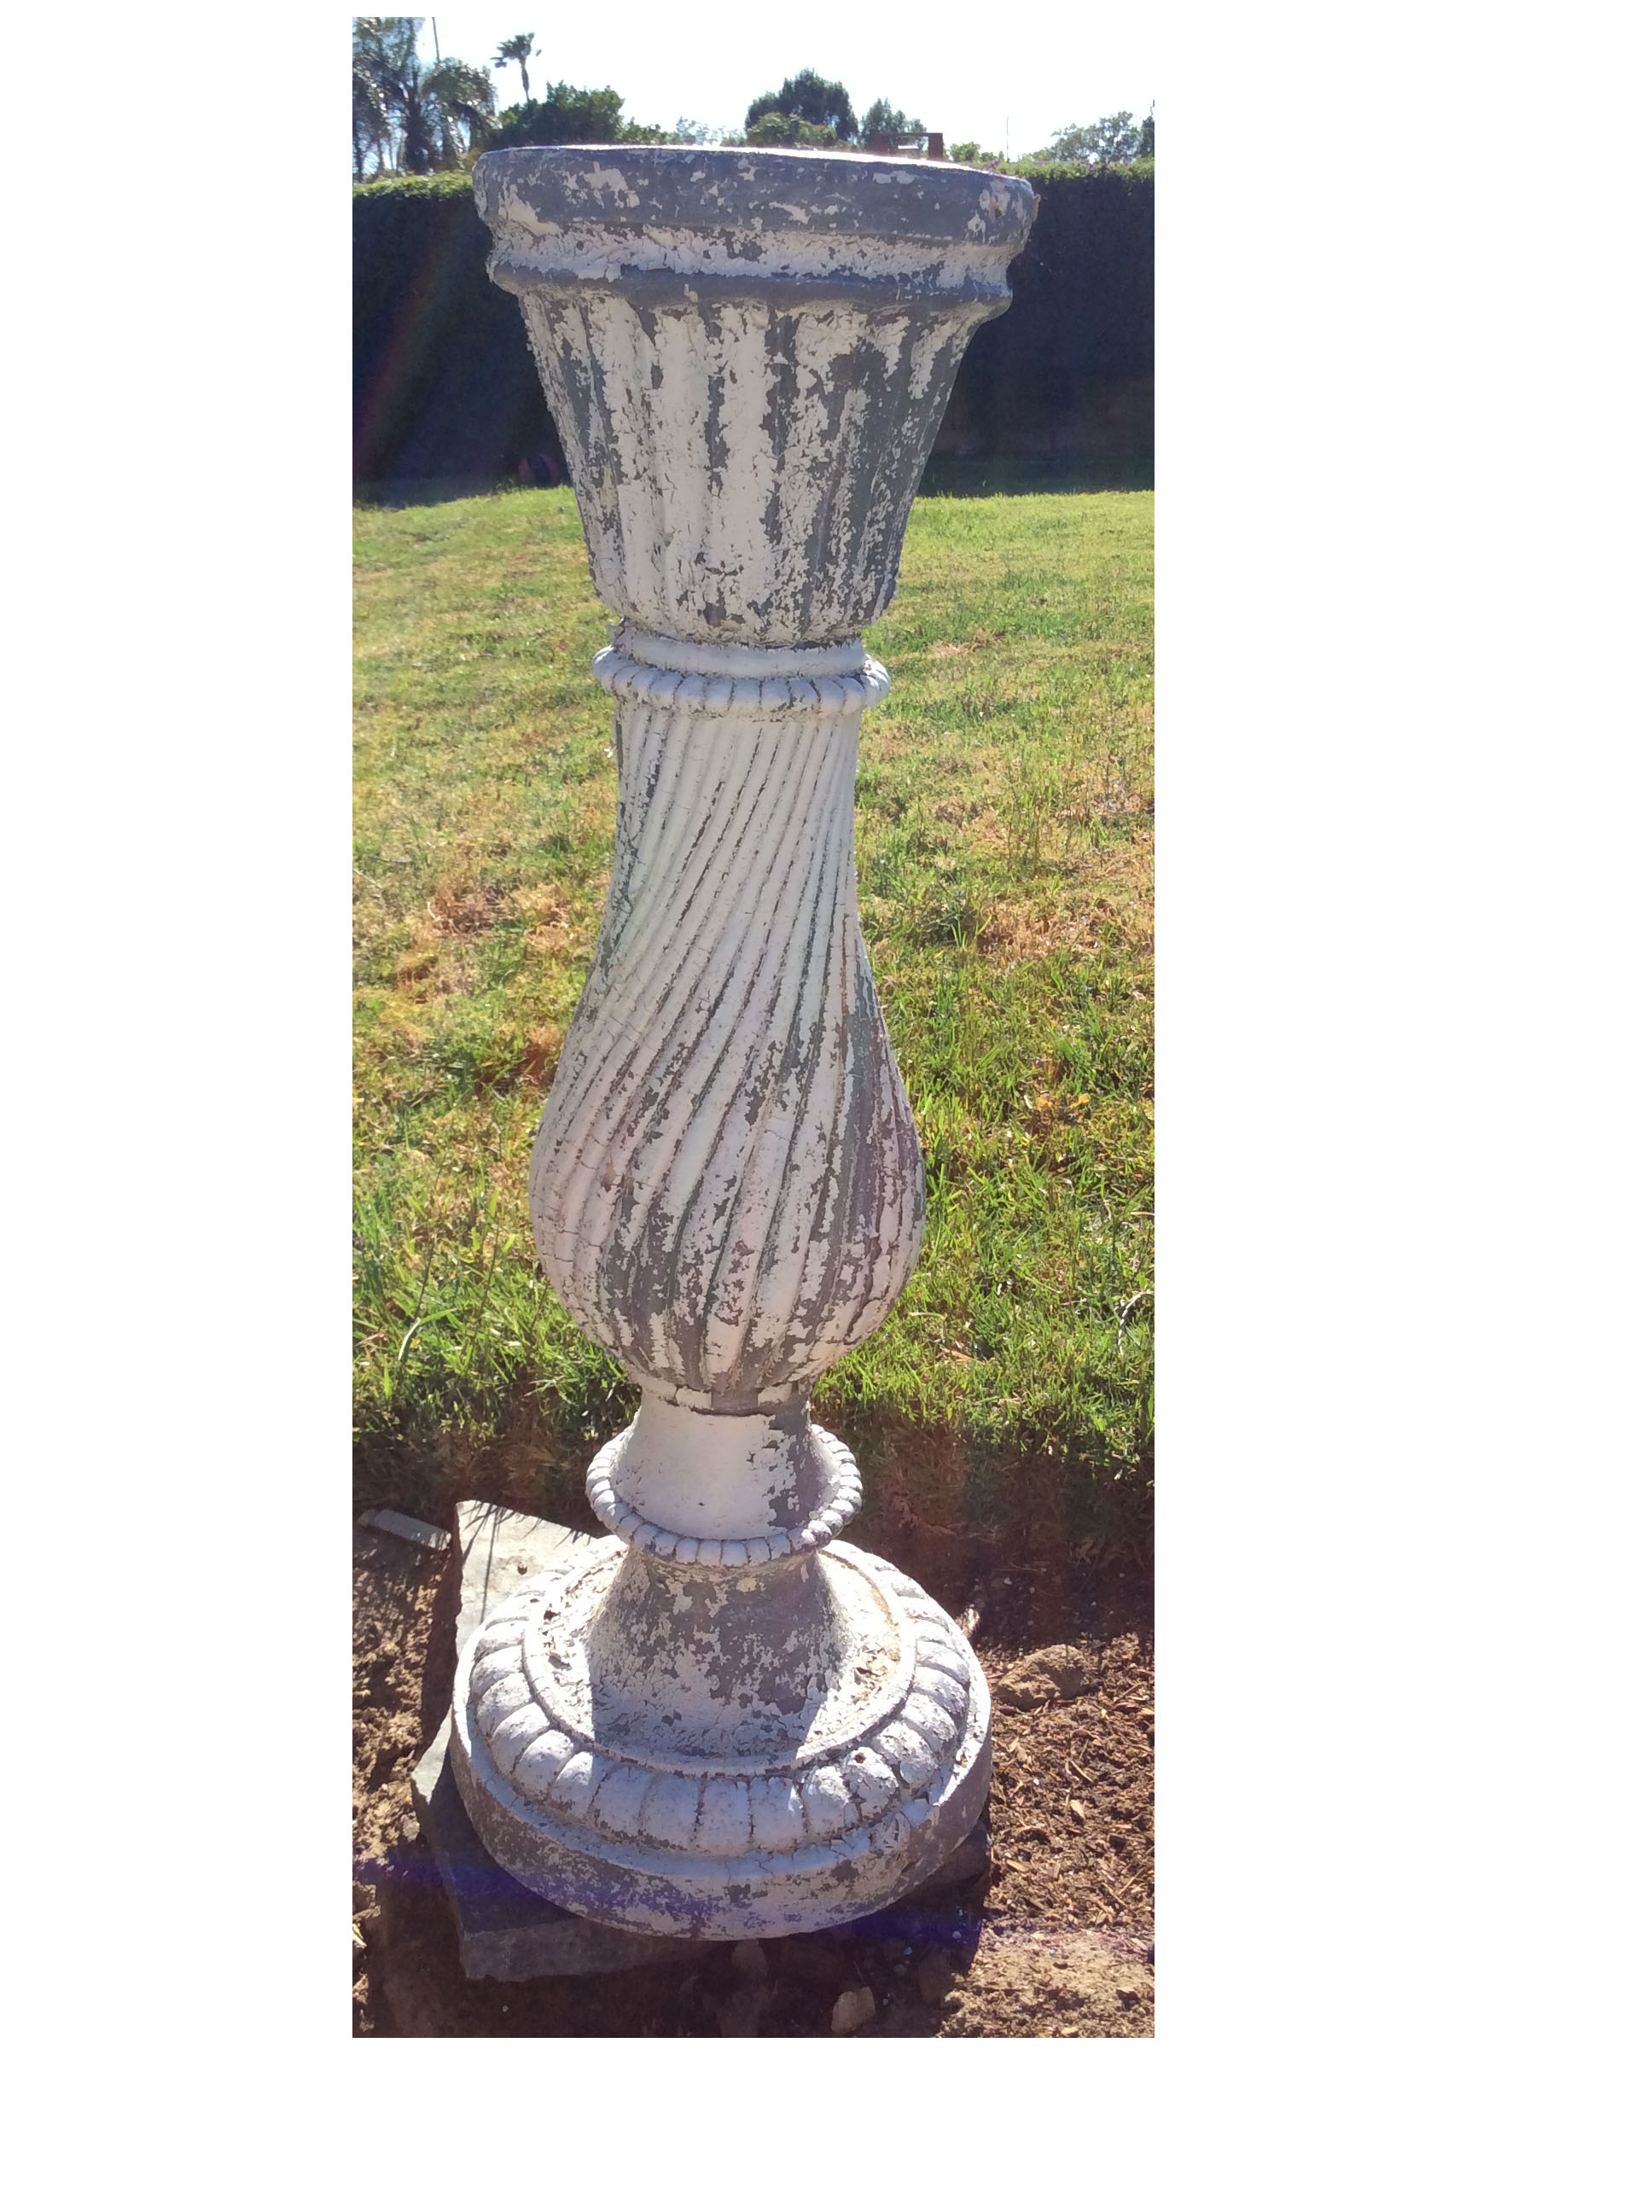
For my 40th birthday I threw a prom. I hated my prom experience and wanted a do-over. We went all out and had a photo booth where folks could pose for prom photos. My good friend painted me these pedestals to hold flowers... Well, these pedestals have been sitting outside exposed to the elements for three and a half years. I decided they needed a facelift. Even though I thought they were an eyesore, we've been using them to hold drinks when we play corn hole.
Materials Used
In addition to my pedestals and a wire brush, I used Valspar's chalky finish paint, sealing wax, and antiquing wax.

Step 1 - Brush Away Dirt and Old Paint
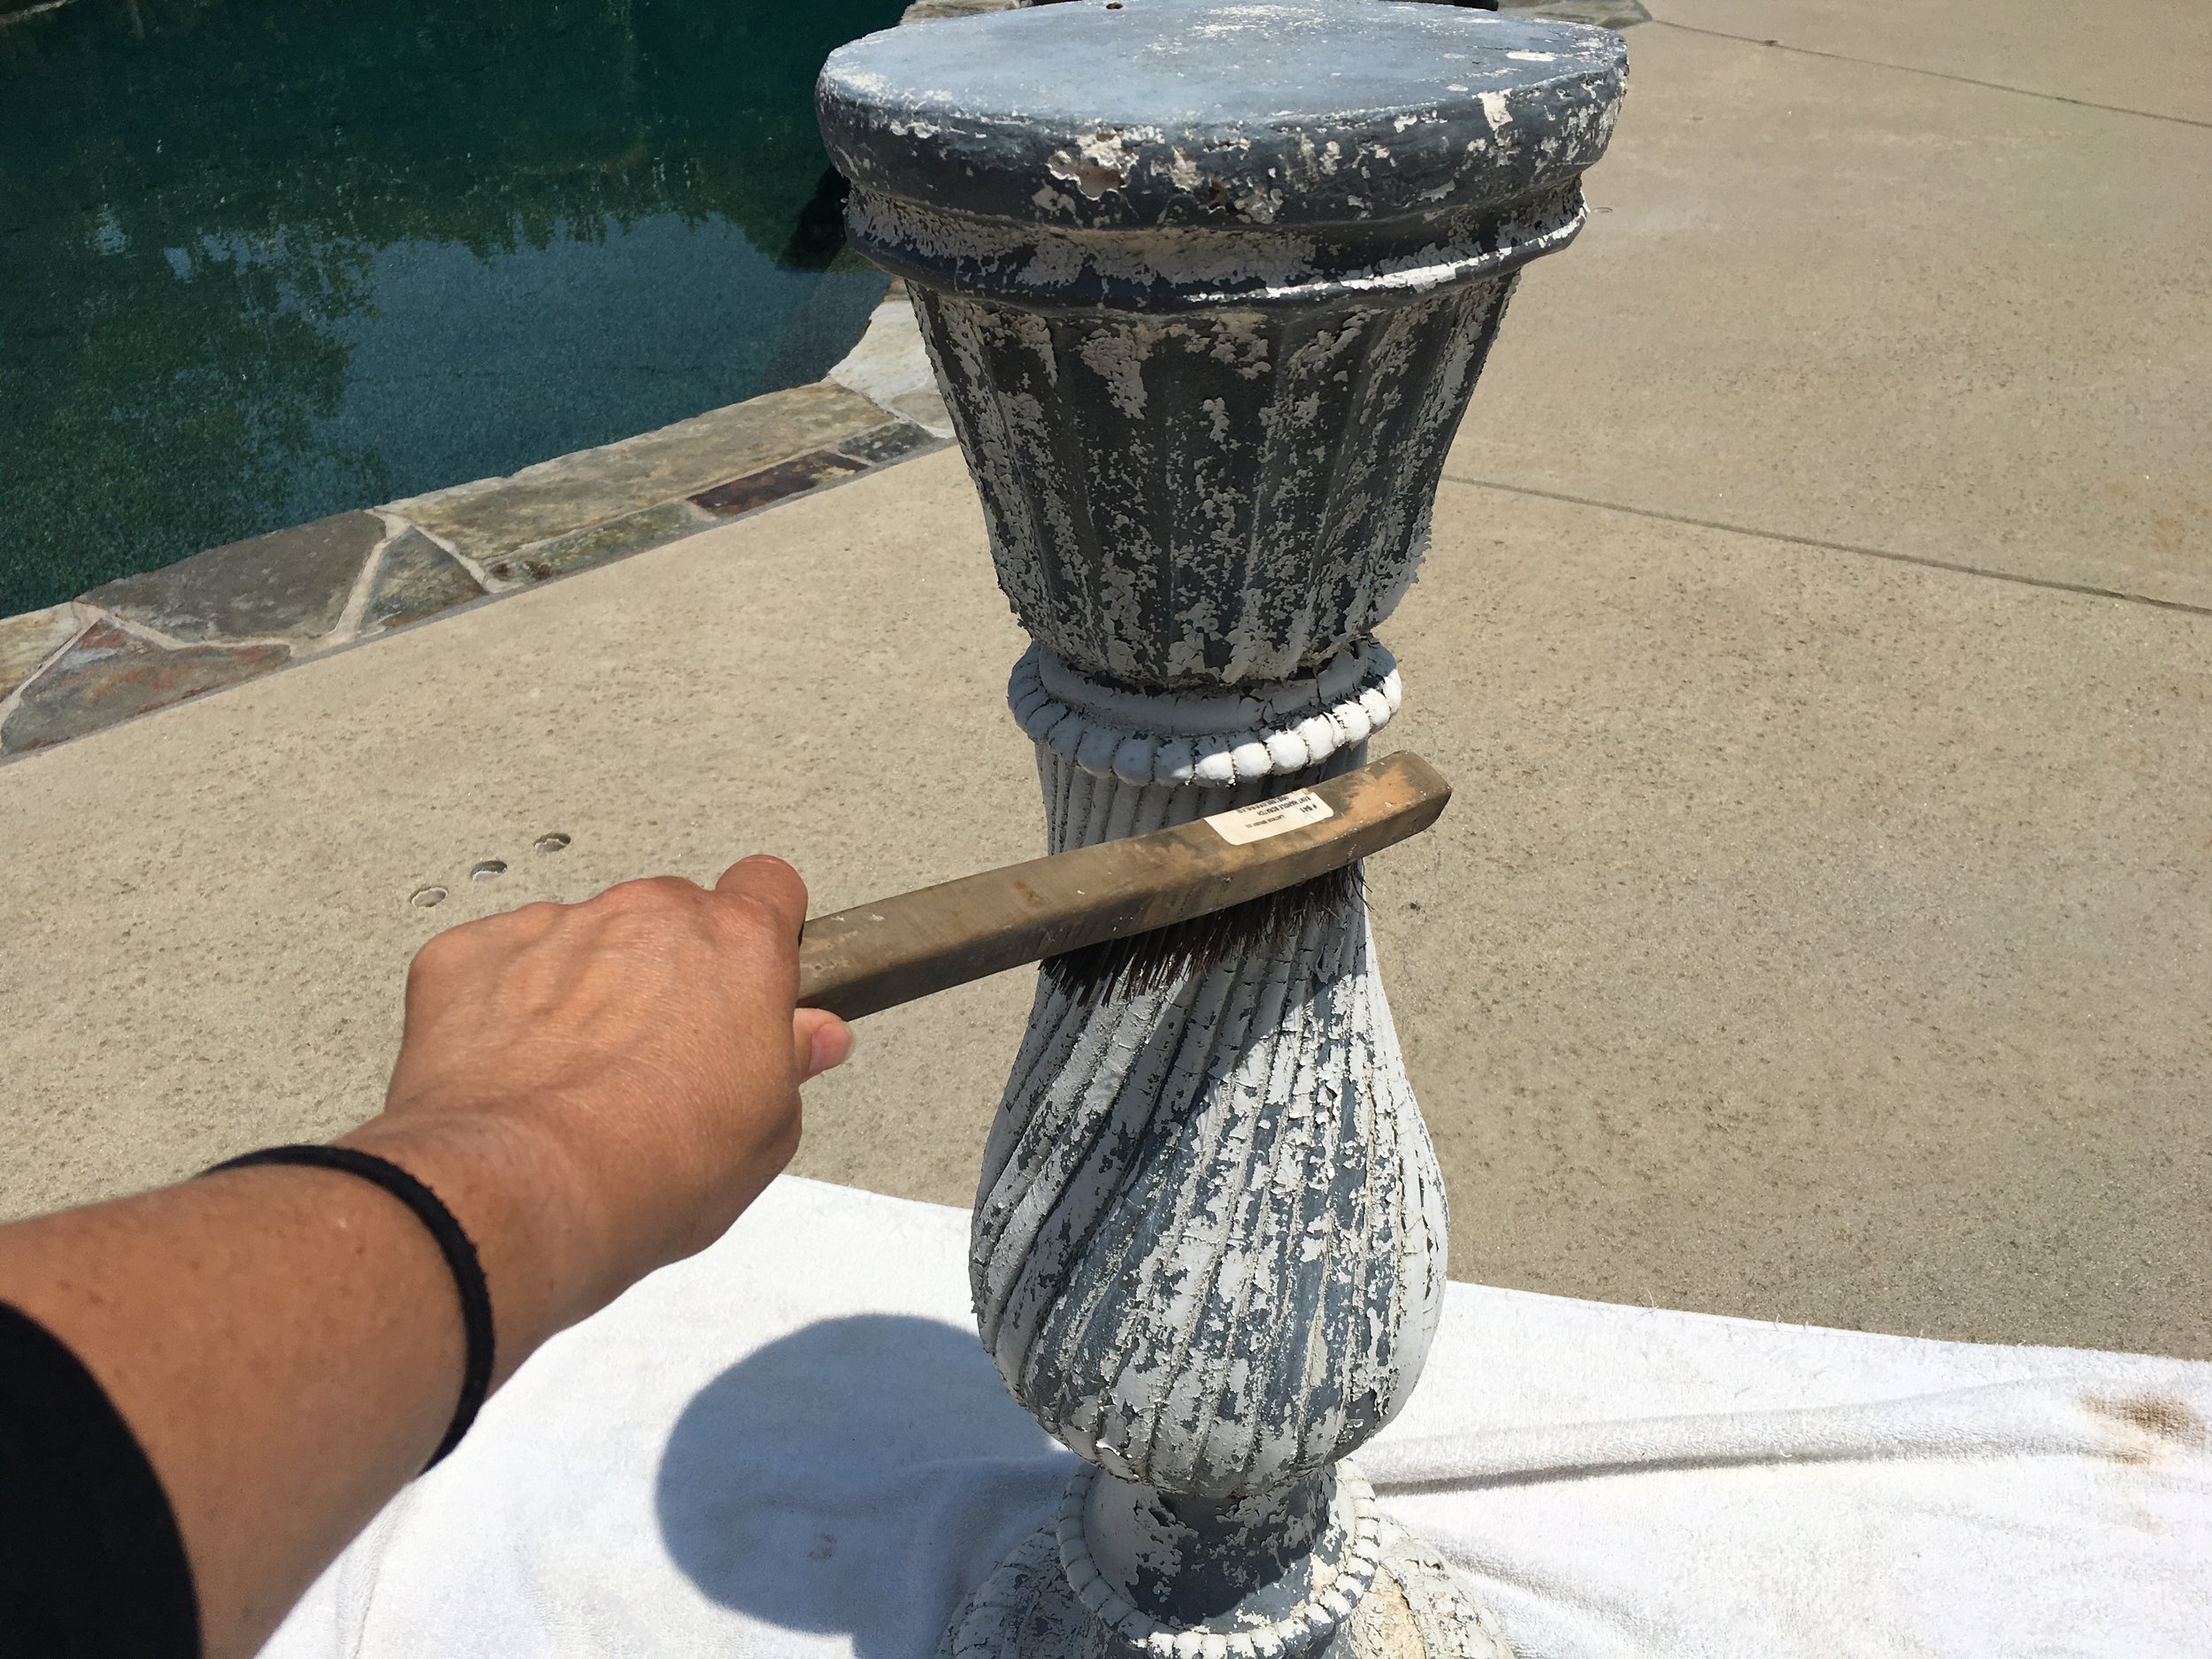
To get started, I took a wire brush and brushed off all of the dirt and old flakey paint. I gave it a good brushing!
Step 2 - Base Paint Color

The second step I had to do was pick a base color. I used what I had on hand and that was this chalk blue color. Don't get too scared. All of the wax processes I use after will drastically change the color.

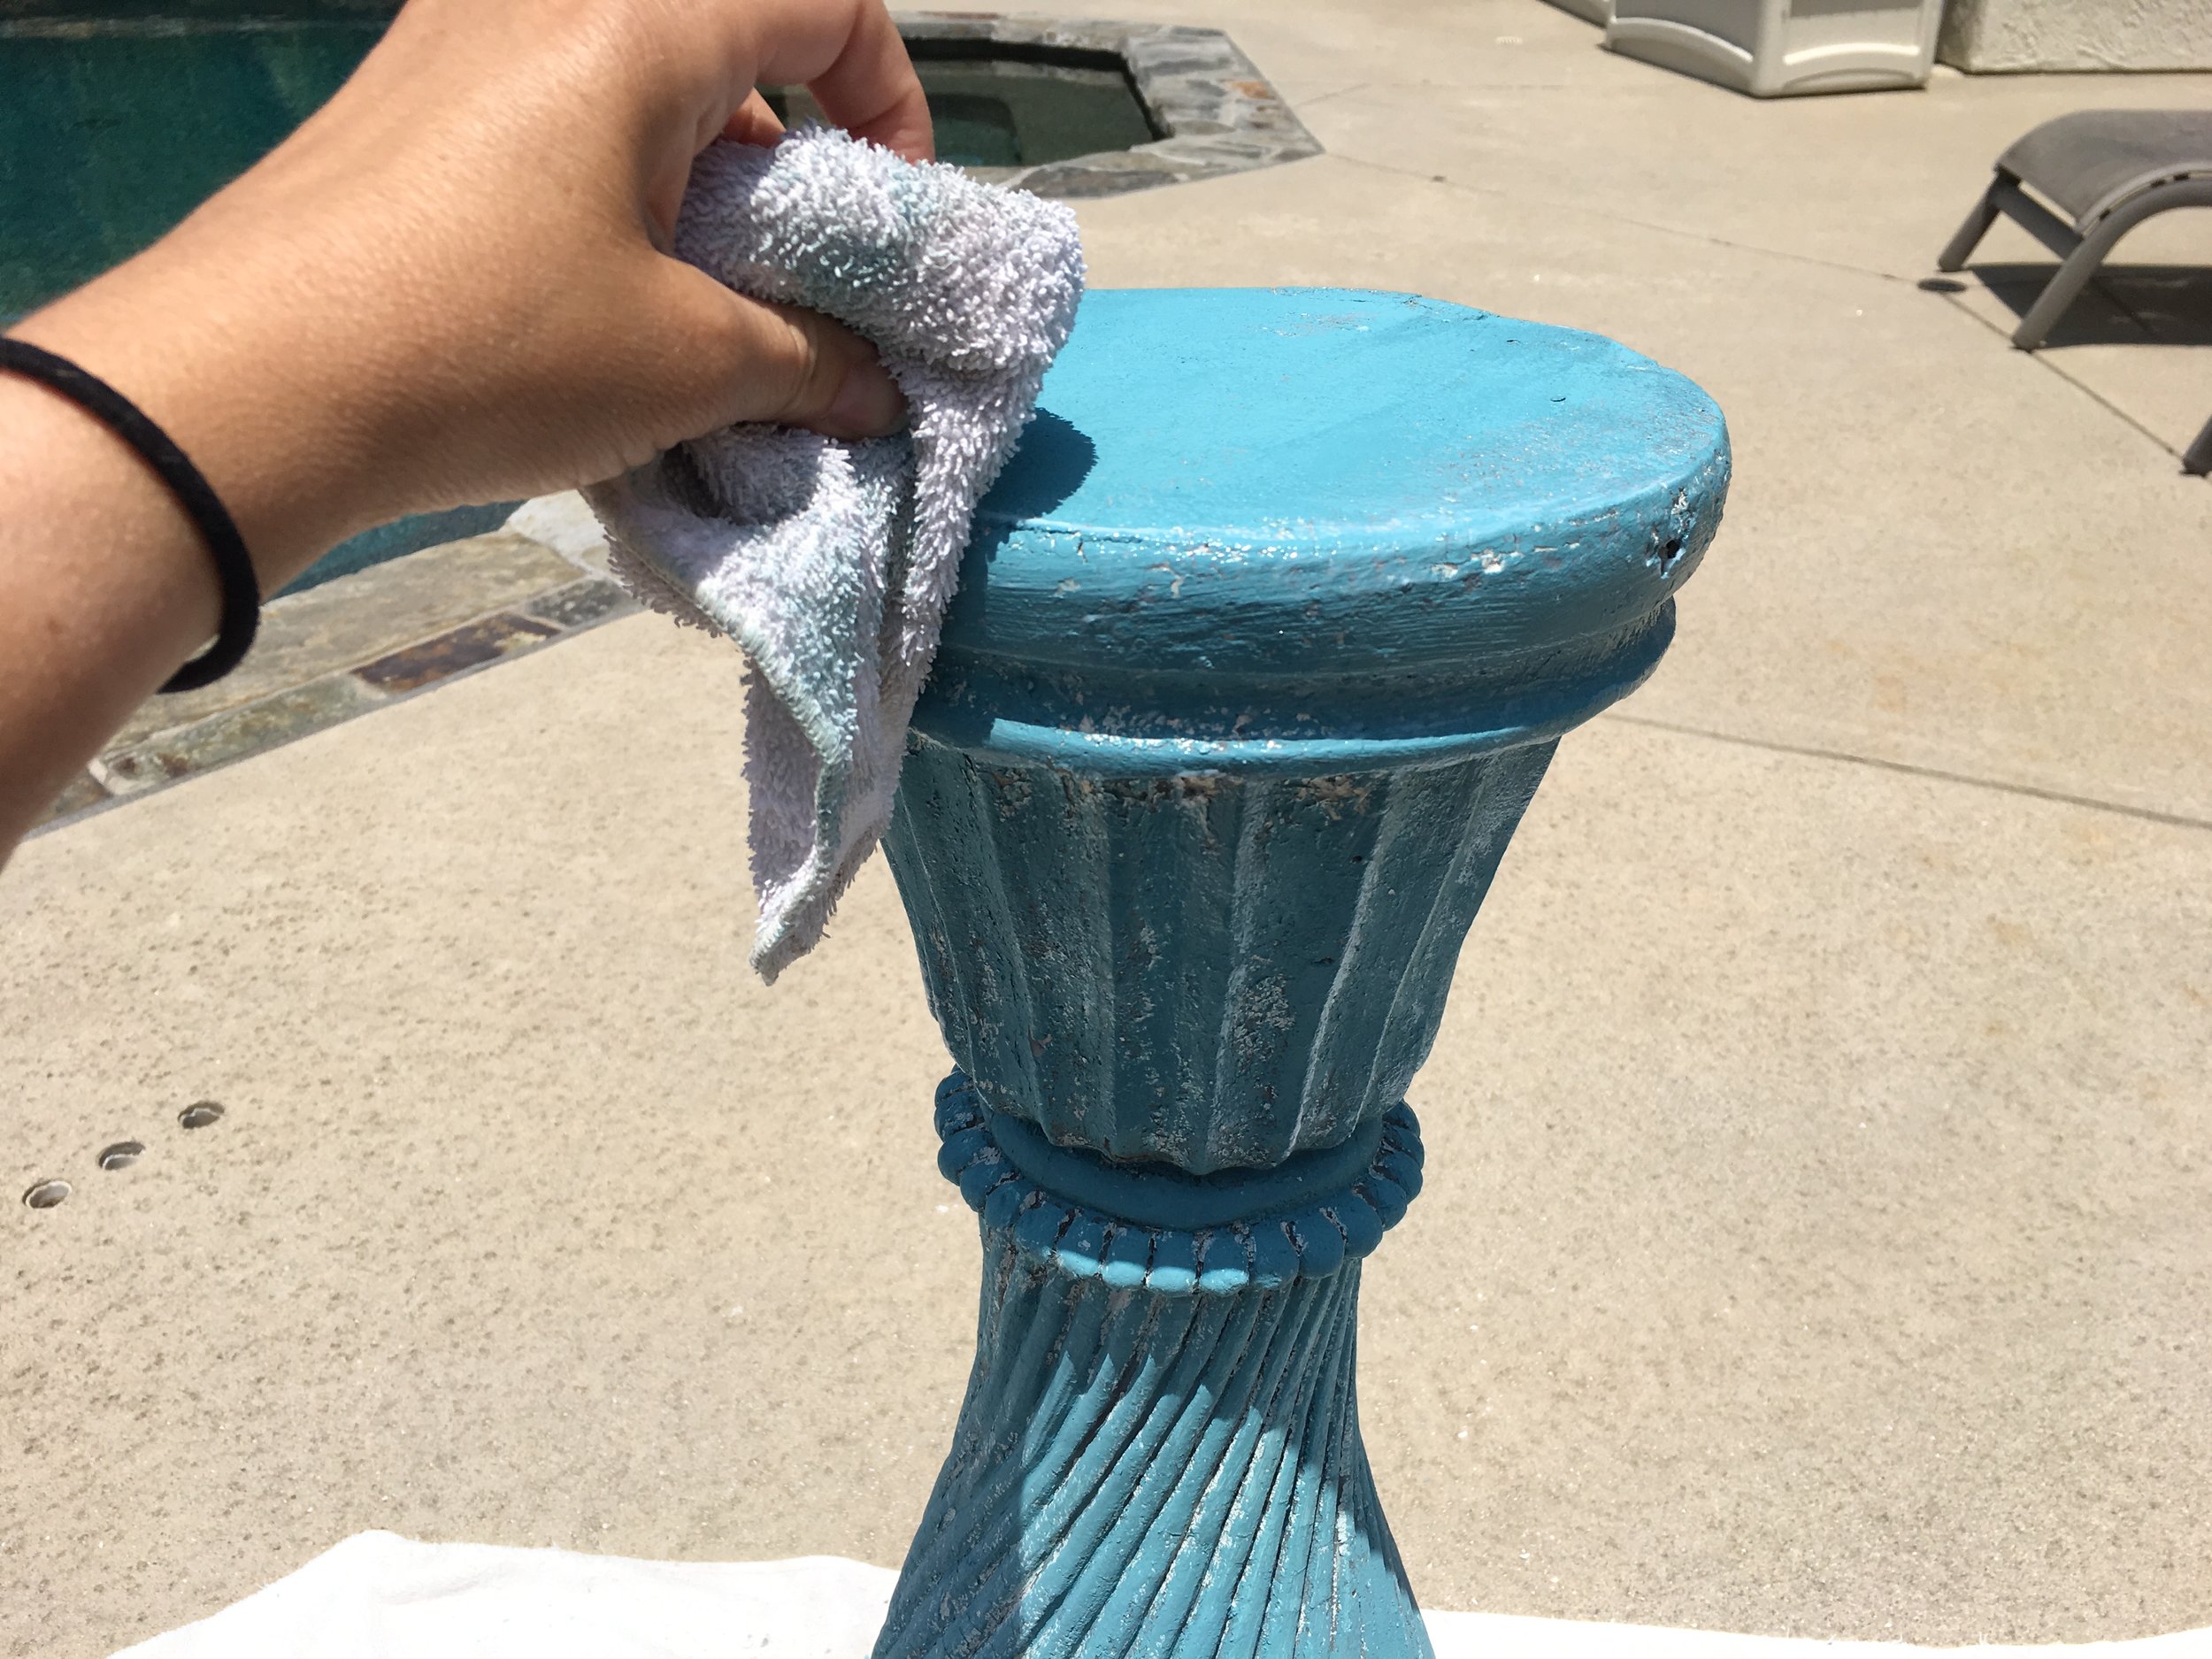
Step 3 - Sealant Wax

After the paint color has dried for about an hour, brush on a sealing wax. Let it sit for about 1-2 minutes and then with a cotton towel, wipe off excess.
Step 4 - Antiquing Wax

After the sealing wax dries for about an hour, brush on the antiquing wax. Let it sit for about 1-2 minutes and then with a cotton towel, wipe off excess.

Step 5 - Final Product

No two pedestals will look the same. These pedestals are supposed to look weathered, not shiny and new. So, when painting them with the chalky paint, I left some of the white and grey still showing. Then, when I applied the antique wax, I did the same but this tine with the blue, white and grey still popping through. If you want more of a finished look, be sure to paint all of pedestal and cover completely with the antiquing wax before wiping off. Just HAVE FUN!